Planning is everything: I'm finally ready to carve-Part 2
- dcbabcock1
- 3 days ago
- 1 min read
At this point, I have already spent several hours and I haven't begun to carve this block, which will be a 12 x 20 inch framed reduction print.
In part one of the series, I described the process of drawing on tracing paper and transferring the drawing onto the linoleum and tracing my rubbing lines with a Sharpie.
I keep my original drawing close by throughout the process. I am constantly referring to it so I know what to do next. Things get complicated with a five color reduction print.

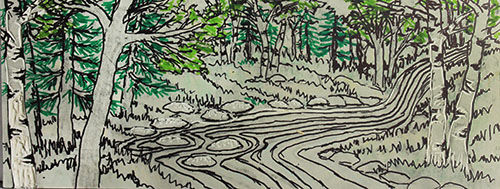
I can use just one color of marker, or use several colors. This is a complicated image, so I am using several markers, just so I can keep everything organized. I have begun to carve out the areas of the image that are to remain white. I have a couple hours of carving to do before I print.
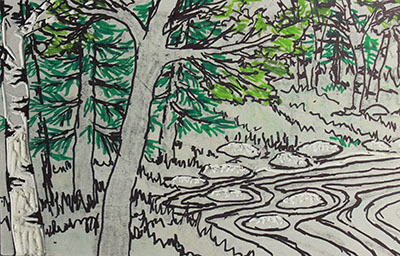
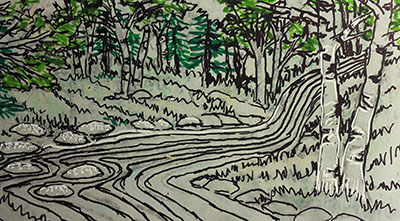
The two photos below show several carving techniques I will use in this print. For the White Birch trees, I outline the large areas with a #3 cutter and then use a #5 cutter to scoop out large areas. I use a #2 cutter and twist the cutter to create texture in the rock. I will use long lines that vary in width in the water.

To see videos of this process, subscribe to my email list. I usually send a newsletter once a week, and it’s full of information on techniques, my schedule of events, and previews of new work. I also post to Instagram @dcastlebabcockart.

